
The texture you see is real, and you can work with it
Texture in mature skin is often a mix of things, not just one problem. You might notice fine lines that catch light, pores that look larger, or dry patches that seem to show up right when you want your makeup to look smooth. Some days the skin feels balanced, and other days it feels like it has a mind of its own.
I learned this the hard way after years of trying to “fix” texture with heavier coverage. I’d pack on foundation, then spend the afternoon dabbing it away when it started collecting in lines. The makeup wasn’t bad. My approach was too rigid. Texture does not respond to brute force. It responds to smart placement, careful hydration, and products that sit on top without sinking in.
Think of mature skin makeup as a collaboration. Your goal is not to erase every surface detail. It is to create a softer visual blur while keeping the skin looking like skin.
Prep is the real makeover: hydration, timing, and a gentle primer
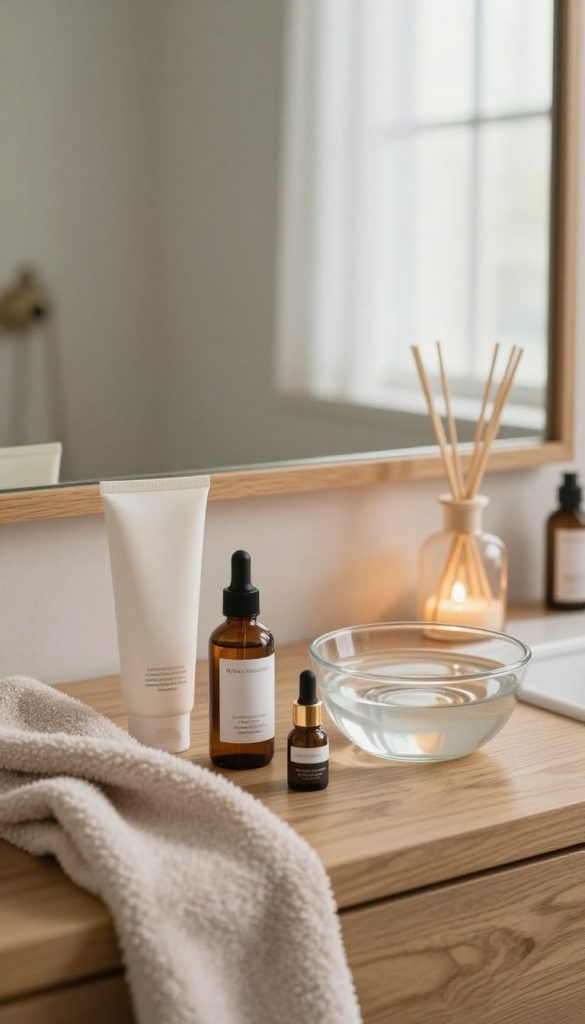
Before makeup touches your face, you need to set the stage. When hydration is off, almost every product behaves badly. Moisture helps makeup glide, and it also gives your foundation something to “hold” rather than grip dry texture.
Here’s what I aim for in my routine, and what you can adjust depending on your skin that day.
- Start with a moisturizer that suits the weather. If your skin is dry, I use a richer cream. If it’s more normal, a lighter gel-cream works better. Let it sink in for about 5 to 10 minutes.
- Choose a primer only if you truly need it. For many mature-skin days, I use a smoothing primer just on areas that emphasize texture: around the mouth, outer cheeks, or the forehead. If you use primer everywhere, you can sometimes get a thicker, draggy look.
- Use the thinnest layer first. Even when you want coverage, you can build later. Too much product too soon is where texture drama starts.
- Give your skin time. Rushing prep is a common reason makeup settles into lines. If you can, do your eye products first, then come back to complexion after the moisturizer has had a chance.
A small personal note: I used to apply primer immediately after moisturizer, and I kept wondering why my base looked “patchy” by noon. Once I started waiting for those few extra minutes, the makeup stopped sliding and started melding.
About primers and silicone
Silicone-based primers can be helpful for smoothing, but they are not mandatory. If you hate the feel, skip it. If you notice pilling, reduce the number of layers under the foundation. Texture is frustrating, but product piling is even more so, and it can make makeup look worse, no matter how good the formula is.
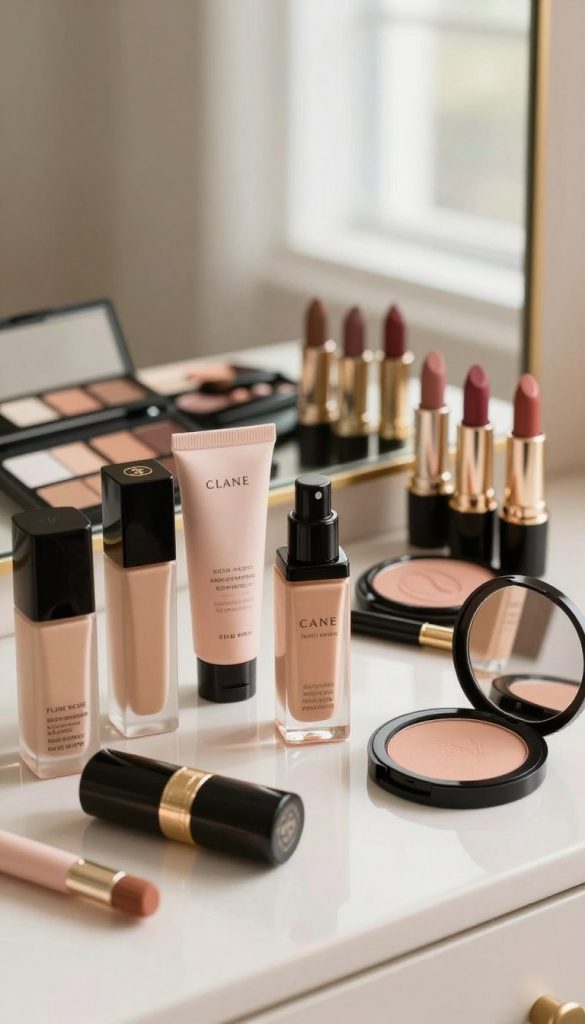
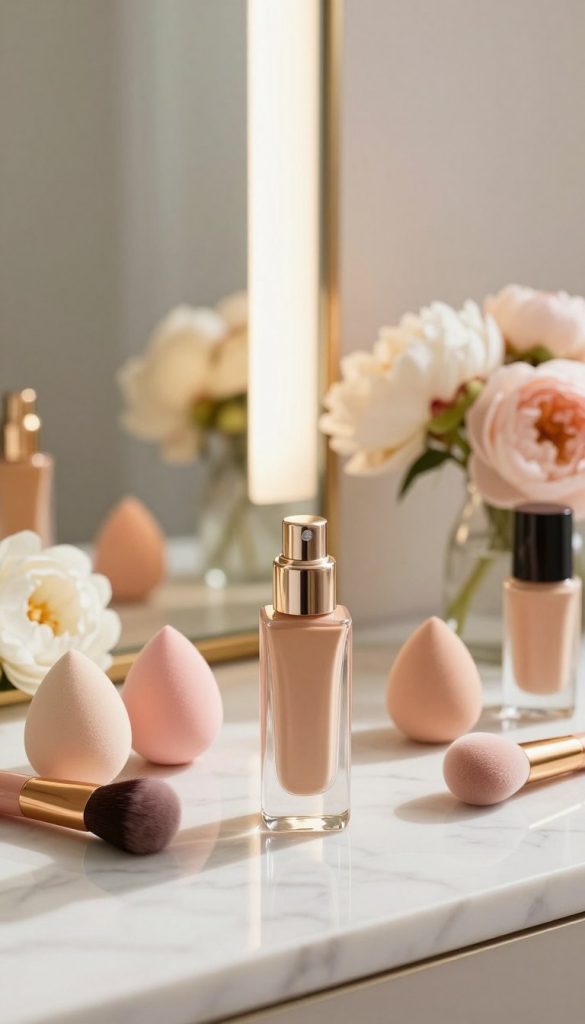
Foundation and concealer: less everywhere, more where it matters
Coverage is not an all-over assignment. On mature skin, the most flattering approach is often targeted. Place product strategically, then blend with intention.
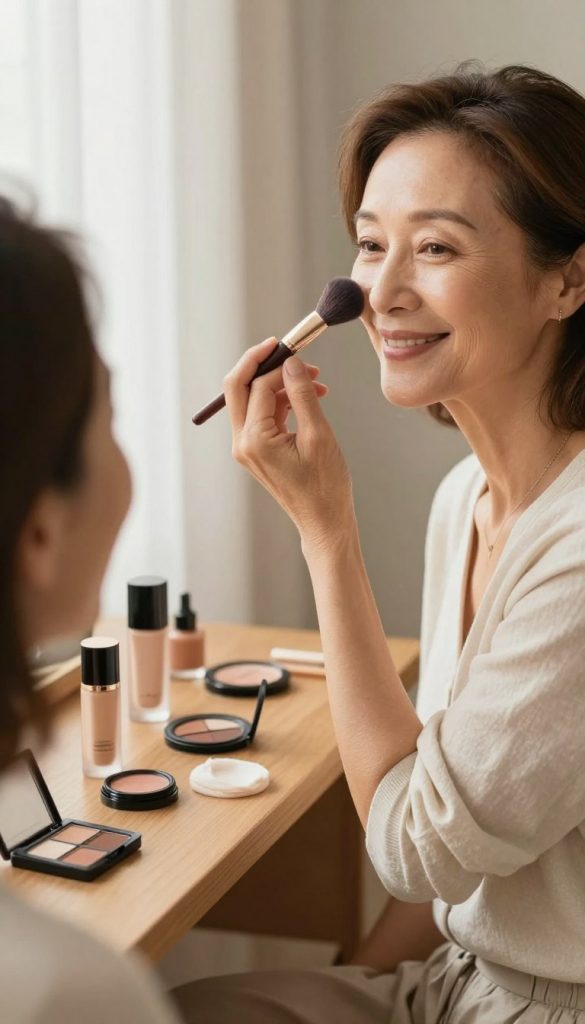
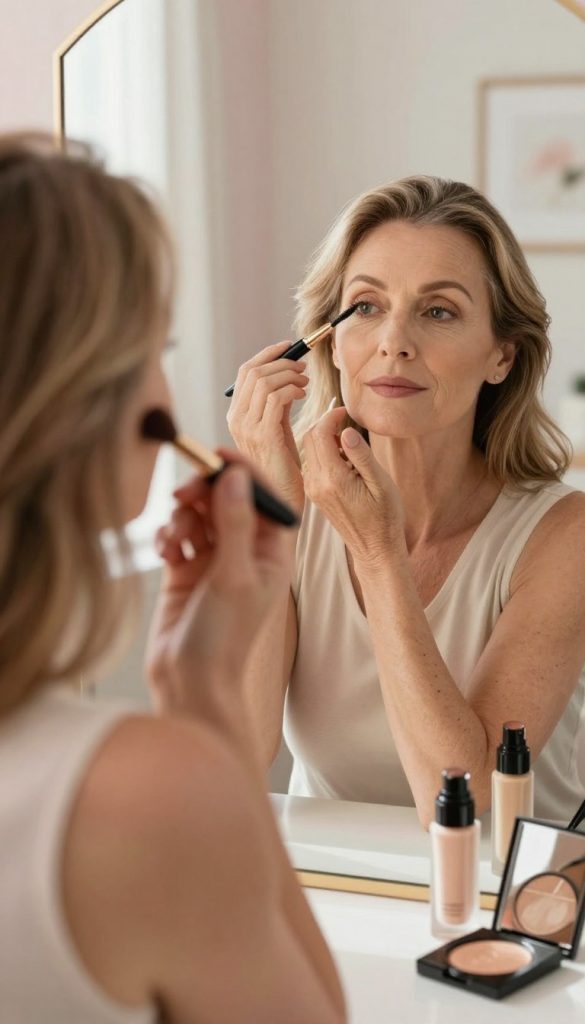
How I apply foundation without emphasizing texture
I prefer a liquid or skin tint with a natural finish, then I build only on areas that truly need it. Matte foundations can look elegant on a freshly prepped face, but they may cling to dryness later, especially along smile lines. If you like a satin finish, you’ll usually get a smoother look without the “powdery” feel.
Technique matters more than people think. When you rub, you can move the product around and drag it into lines.
- Use a damp sponge or a soft brush for the first layer, then lightly tap to even it out.
- Focus on blending the edges, not piling product in the center of any one area.
- If you see texture after the first layer, pause. Let it sit for a minute. Sometimes it smooths as it hydrates and settles.
Concealer should be creamy, not thick
Concealer can either brighten or emphasize. For mature skin, I treat concealer like a spot tool, not a blanket.
If you have lines around the mouth or thinner skin under the eyes, use a formula that stays comfortable. Thick concealers can look amazing for 30 minutes and then start to look dry. I apply concealer sparingly, tap it in with a light hand, and then stop. For extra brightness, I blend a tiny amount outward, away from the crease.
A quick judgment call
- If your skin looks dry, choose a hydrating concealer and skip heavy powder at first.
- If you’re oily, use a small amount of concealer and set only where you get shine.
Set with restraint: powder only where it earns its place
Powder is helpful, but it is also the fastest way to make texture more obvious if you overdo it. Mature skin usually looks best with a light touch, especially if your texture is partly dryness-related.
I use this rule for myself: set the parts that move, not the parts that already look smooth.
A common mistake is setting the entire face, then trying to add moisture on top. That can lead to patchiness, where powder grabs and liquid slips.
Here’s how I keep my makeup looking soft throughout the day:
- Use powder only on the T-zone or specific areas. For me, that is usually the center of the forehead, around the nose, and sometimes the chin.
- Apply with a small brush or a puff, then stop. Press lightly. No swirling, no dragging.
- Consider skipping powder on the cheek texture. If your cheeks are the area showing lines, powder can make them feel tight and look more defined.
- Refresh with a mist instead of reapplying makeup. If things start to look dry, a fine mist and gentle pressing can revive the look.
If you love a completely set matte finish, you can still achieve it. Just start with a small test area. Some mature skin tolerates more powder than others, and your preference should be guided by how your skin behaves, not by trends.
A simple finishing step that keeps texture from stealing the spotlight
Once your base is set, the final choices matter. Harsh contour or heavy blush can emphasize texture by changing the way light bounces off the skin. The goal is to create dimension without harsh edges.
Blush and bronzer placement
I aim for gentle placement. Instead of dragging bronzer along the entire cheek, I focus on where the face naturally takes in light and shadow. For blush, I place it slightly higher than I used to. It helps lift the look and keeps the texture from becoming the main event.
A soft highlighter can also help, but use caution. If the highlighter sits in texture, it will show. I usually choose a formula that is more “skin-like” than sparkly, and I apply it with a light hand only to the tops of the cheekbones, not over deeper smile line areas.
Lips and eyes, your texture-friendly softening tools
If your lips are prone to dryness, keep them hydrated before color. A smooth lip prep makes lipstick look more even, especially around the edges where lines appear. For the eyes, choose shadows that blend easily and avoid overly dry powders that can look chalky on eyelids.
When you bring everything together, you get the effect most people really want: makeup that looks supportive rather than corrective.
Makeup texture lessons I keep coming back to
I still make adjustments depending on the day. Some mornings, my skin is calm and needs minimal work. Other days, texture becomes more visible, and I change my approach without shame or panic.
What stays consistent is this: a simple routine beats a complicated one, especially when you’re working with Beauty products that need the right conditions to perform. The most flattering makeup is the kind you can wear comfortably, with the texture looking like part of your real face instead of a problem being fought.
If you want, tell me what texture you notice most, dry or oily tendencies, and what makeup you currently use. I can help you tweak the routine so it fits your skin rather than fighting it.